DTF Transfers Not Sticky? The Real Fix Is Calibrating Your Adhesive Powder’s Activation Window
title: "DTF Transfers Not Sticky? The Real Fix Is Calibrating Your Adhesive Powder’s Activation Window"
slug: dtf-transfers-not-sticky-adhesive-powder-activation-fix
meta_description: "DTF transfers not sticky? The root cause is almost always adhesive powder that never hits its melt point. Learn how to calibrate time, temperature, and pressure."
primary_keyword: "Dtf transfers not sticky"
locale: "en-US"
content_type: "blog_post"
Why DTF Transfers Peel, Lift, or Refuse to Stick — And What Decision-Makers Need to Diagnose First
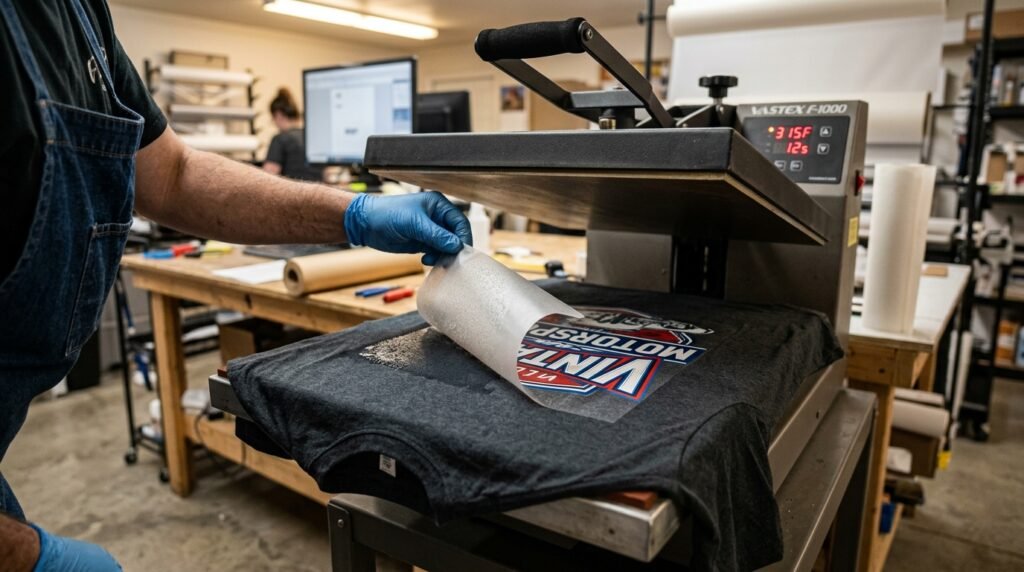
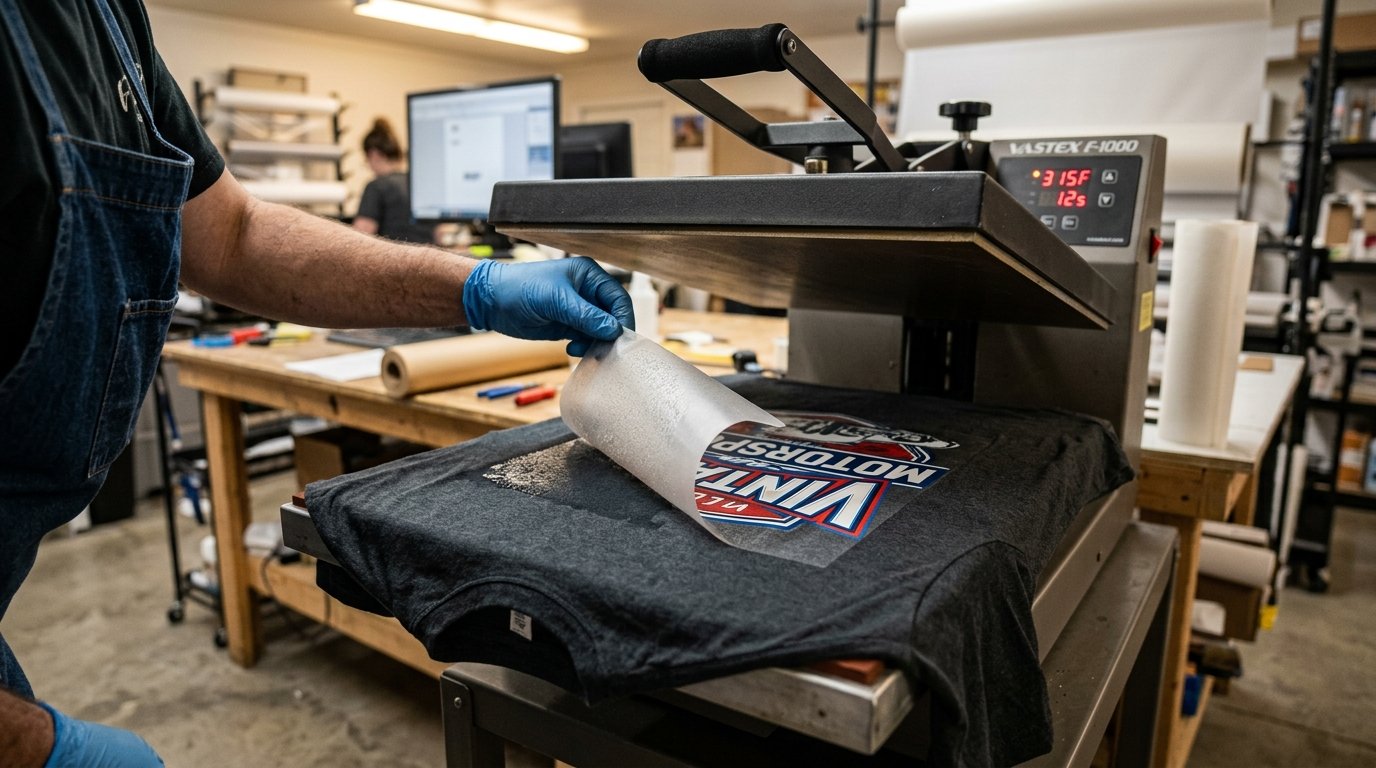
You pulled the heat press, peeled the film, and watched the design lift right off the shirt. Half the transfer stuck. The other half curled away like it was never bonded at all. If your DTF transfers are not sticky, the instinct is to blame the film, switch ink brands, or fire off an angry email to your transfer supplier. That instinct is almost always wrong.
The adhesive powder sandwiched between your printed film and the garment fabric has a narrow activation window — a specific combination of temperature, dwell time, and mechanical pressure where it melts, flows into the textile fibers, and solidifies into a permanent bond. Miss that window by even a small margin and nothing else matters: not the film quality, not the ink chemistry, not the brand name on the box. Every section that follows traces back to this single mechanical reality, because fixing DTF transfers not sticky starts with understanding that the powder is the bond — and the press parameters are the lock and key.
Key Takeaways
- Most DTF adhesion failures trace to incorrect temperature, time, pressure, fabric moisture, or uneven powder coverage — not defective film or ink. ↗
- Five root-cause categories organize every known failure mode: equipment, parameters, consumables, operator process, and environment/fabric. ↗
- Your heat press display may read 15–20°F higher than the actual platen temperature — verify with an infrared thermometer before every production run.
- Cotton and polyester require different press settings; treating them identically is a leading cause of partial adhesion and edge lifting.
- Pre-pressing for 3–10 seconds removes moisture and factory coatings that silently block adhesive contact with the fabric.
- Cold-peel films peeled too early are the most common operator-caused failure — wait for the garment to return to room temperature.
- A second finishing press after peeling improves edge durability and reduces wash-cycle peeling significantly.
Why Are My DTF Transfers Not Sticking? The Five Root-Cause Categories
Nearly every documented case of DTF transfers not sticky falls into one of five failure categories: equipment, parameters, consumables, operator process, and environment/fabric. Understanding which category your problem lives in determines whether you need an inexpensive infrared thermometer or a full process overhaul.
Obziy’s troubleshooting framework groups these causes explicitly. ↗ Equipment factors include uneven platens, worn heating elements, and home irons that can’t sustain consistent temperature. Parameter factors cover the temperature-time-pressure trio. Consumable factors point to expired powder, ink-powder incompatibility, and degraded film. Operational process covers peel timing, powder application technique, and pre-press steps. Environment and fabric factors include humidity, factory coatings on new garments, and sublimation-ready blanks that actively repel DTF adhesive.
The reason this taxonomy matters for business owners — not just press operators — is resource allocation. If your shop is experiencing adhesion failures across multiple shirt brands and multiple transfer suppliers, the problem almost certainly lives in equipment or parameters, not consumables. Swapping suppliers costs time and money. Checking your platen temperature with a basic infrared thermometer costs five minutes.
Across vendor guides published between 2024 and 2026, the same variables appear repeatedly as root causes: incorrect temperature, insufficient time, uneven pressure, fabric moisture, and inadequate powder coverage. ↗ The consistency of this list across independent sources is itself diagnostic. When every supplier, from different countries with different product lines, points to the same five variables, the signal is strong: the fix is process calibration, not product replacement.
Before you spend another dollar on new film or a different powder brand, run through each of the five categories below with a single test garment. Isolate one variable at a time. The answer is almost always in the parameters.
Temperature: The Variable That Breaks More Transfers Than Everything Else Combined
If your platen isn’t reaching the adhesive powder’s true melt point, nothing downstream can compensate — not more time, not more pressure, not a better film.
Here’s where things get uncomfortable for anyone who trusts their heat press display. DTF Virginia’s application guide specifically warns that many adhesion failures trace to the press temperature being lower than the set value, and recommends verifying actual platen temperature with an infrared thermometer before pressing. ↗ Multiple vendor guides echo this, noting that under-heating by even 10–20°F can prevent the adhesive from melting fully. ↗
The recommended ranges vary by fabric type and by source — which is itself worth paying attention to. DTF Virginia recommends 310°F for cotton garments pressed for 13–15 seconds, and roughly 290°F for polyester. ↗ Transfer Kingdom suggests a slightly wider range: 310–320°F for cotton at 12–15 seconds, and 280–300°F for polyester at 8–12 seconds. ↗ DTFPrint.me lands at 300–315°F for standard cotton. ↗
These ranges aren’t contradictory — they reflect the reality that different adhesive powders have slightly different melt profiles, and different press machines have different thermal behaviors. The important takeaway is that all sources converge on one principle: cotton needs more heat than polyester, and the margin for error is narrow. A press reading 310°F that’s actually delivering 290°F at the platen will bond cotton poorly and polyester inconsistently.
If you’re running production and haven’t verified your platen temperature with an independent tool this month, that’s the single highest-value diagnostic step available. Not sure your heat press is delivering the temperature it reads? Reference our DTF temperature and pressure guide for calibrated ranges by fabric type before your next production run.
Hot Peel vs. Cold Peel: Why Peel Timing Wrecks Perfectly Good Prints
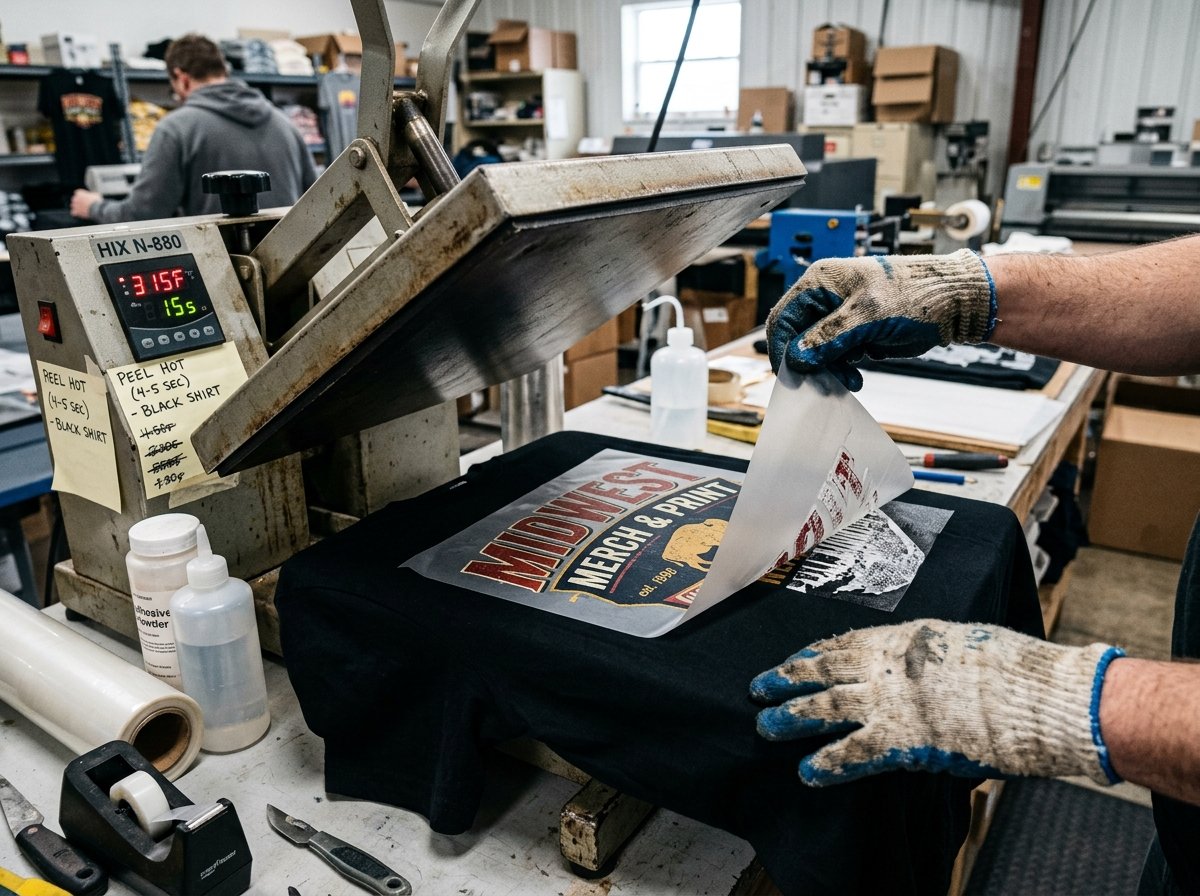
Peeling the carrier film at the wrong moment undoes an otherwise successful press — and the vast majority of commercial DTF films are cold-peel, meaning patience is non-negotiable.
DTF Ghost’s guidance is blunt on this point: the vast majority of commercially sold DTF films are cold-peel, and peeling the carrier film before the shirt returns to room temperature is a frequent reason designs don’t fully stick. ↗ The recommendation is to wait for full cooling and peel slowly to avoid lifting fine details.
This is a process discipline problem, not a product problem. A press operator running high volume faces constant pressure to speed up cycle times. Pulling the film five seconds early on a cold-peel transfer doesn’t always cause a visible failure — sometimes it manifests as micro-lifting on fine lines or small text that only becomes apparent after the first wash. That delayed failure mode makes it harder to diagnose, because by the time the customer complains, the operator has pressed dozens more garments with the same timing error.
For shops running both hot-peel and cold-peel films, the risk multiplies. Mixing up peel protocols between transfer types is an easy mistake that produces inconsistent results across a single order. Keeping a clear reference — whether it’s a label on the press or a quick check of our DTF equipment checklist for your specific consumable specs — eliminates this variable entirely.
Pressure: The Silent Third Variable Nobody Calibrates
Uneven or insufficient pressure creates dead zones where the adhesive powder never contacts the fabric fibers, producing transfers that stick in the center and lift at the edges.
Temperature gets the attention. Time gets the timer. Pressure gets ignored. Yet DTF Direct identifies insufficient pressure as a common root cause of incomplete adhesion, advising users to ensure good pressure across the entire area and to use a pressing pillow when seams or thick areas reduce effective contact. ↗
Think about what happens physically when you press a transfer onto a garment with a center seam or a collar fold. The platen makes firm contact with the flat areas of the shirt, but the raised seam creates a gap — sometimes only a millimeter or two — where the adhesive powder never gets pressed into the fabric. The result is a transfer that looks perfect immediately after pressing but peels at the seam line after one wash.
Jiffy’s troubleshooting guide suggests that when small areas of a DTF print are lifting, users should increase heat press pressure slightly and repress for about 5 seconds using parchment paper. ↗ That’s a reactive fix. The proactive fix is understanding your garment’s topology before you press: where are the seams, where is the collar, where does the fabric bunch? Our design placement guide helps map these zones so you can position transfers to avoid problem areas or plan for supplemental pressing.
Fabric Prep: Moisture, Coatings, and the Substrates That Repel DTF Adhesive
A garment that looks clean and dry can still carry invisible barriers — factory coatings, residual moisture, or fabric softener residue — that prevent the adhesive from ever making contact with the fibers.
InkSonic instructs users to pre-press shirts for 5–10 seconds at around 150°C to remove moisture, to wash new garments once to remove factory coatings, and to avoid fabric softeners, stating that residual coatings or moisture in the fabric can prevent the DTF adhesive from bonding. ↗ PrintProNet’s structured diagnostic starts with fabric preparation — lint and moisture — before moving to pressure, then time and temperature stability, and finally peel timing. ↗
The factory coating issue deserves special emphasis for anyone buying blank garments in bulk. New shirts straight from the manufacturer often carry sizing agents, anti-wrinkle treatments, or water-repellent finishes that are invisible to the eye but form a chemical barrier between the adhesive and the cotton fibers. A single pre-wash removes most of these. Skipping that step to save time is a false economy when it results in returns and reprints.
A separate and frequently misunderstood issue: sublimation-coated blanks. DTFPrinter.com emphasizes that pressing DTF transfers onto sublimation-coated blanks is a known risk for poor adhesion, and recommends using cotton, cotton/poly blends, or non-coated polyester. ↗ If sublimation blanks must be used, the mitigation procedure involves pre-pressing for 5–10 seconds, pressing at about 310°F for 15 seconds with firm pressure, cooling completely before peeling, and post-pressing for 5 seconds.
This is where a quick substrate check saves real money. Before pressing an unfamiliar blank, check fabric compatibility using our free tool — it covers recommended temperature, pressure, and pre-treatment for 14 fabric types, so you’re not guessing whether your substrate will cooperate.
Adhesive Powder Application: Where Coverage Gaps Create Adhesion Gaps
Uneven powder distribution is the most common consumable-side cause of DTF transfers not sticky — and the fix is technique, not a different powder brand.
DTFIL’s guide instructs users to apply adhesive powder evenly while the ink is still wet, to shake off excess powder rather than rubbing it, and to pre-heat the substrate for 10–13 seconds before transfer application. ↗ DTF Ghost adds that proper powdering involves tilting or gently shaking the film so that powder flows across the entire design, then tapping the film to remove loose excess — noting that insufficient coverage or clumps lead to areas of poor adhesion and visible defects after pressing. ↗
Two failure modes live here. The first is bare spots — areas where the powder simply didn’t reach, leaving ink with no adhesive layer beneath it. These show up as clean, sharp-edged patches where the transfer lifts. The second is clumping — thick deposits of powder that don’t melt evenly, creating raised bumps or cloudy areas in the finished print.
Both are technique problems. Rubbing powder across the film (instead of shaking it) pushes powder off wet ink areas and deposits it unevenly. Applying powder after the ink has begun to dry means it won’t adhere to the film surface, creating loose particles that fall off before pressing.
For shops printing their own transfers, powder application is a skill that improves with practice and degrades with rushing. For shops buying pre-made transfers, powder quality and coverage are harder to verify — which is one reason why diagnosing adhesion problems should start with the press parameters you control before questioning the transfer supplier’s consumables.
The Finishing Press and Post-Care Protocol That Prevents Wash Failures
A second press after peeling — and a 24-hour cure before washing — are the two most frequently skipped steps that cause transfers to survive the press but fail in the laundry.
DTF Virginia’s checklist recommends performing a second press for 10–15 seconds with a Teflon sheet or parchment paper after peeling, and then waiting 24 hours before washing. ↗ Skipping the finishing press or washing prematurely can result in edges lifting and reduced durability.
Why does a second press matter if the first one already bonded the adhesive? The initial press melts the powder and establishes contact with the fabric. Peeling the carrier film — especially on cold-peel transfers — can microscopically disturb the bond at the edges. The finishing press re-seats those edges and ensures the entire adhesive layer has fully flowed into the fabric weave without the carrier film’s tension working against it.
The 24-hour wash wait is about full polymer cure. The adhesive continues to cross-link with the fabric fibers for hours after pressing. Washing before that process completes subjects a partially cured bond to mechanical agitation, heat, and detergent — exactly the forces most likely to exploit any weak points.
For sellers fulfilling custom orders, this means building the cure time into your production schedule. Pressing and shipping same-day puts the wash risk on your customer and the return risk on you.
A Systematic Diagnostic Protocol When Transfers Still Won’t Stick
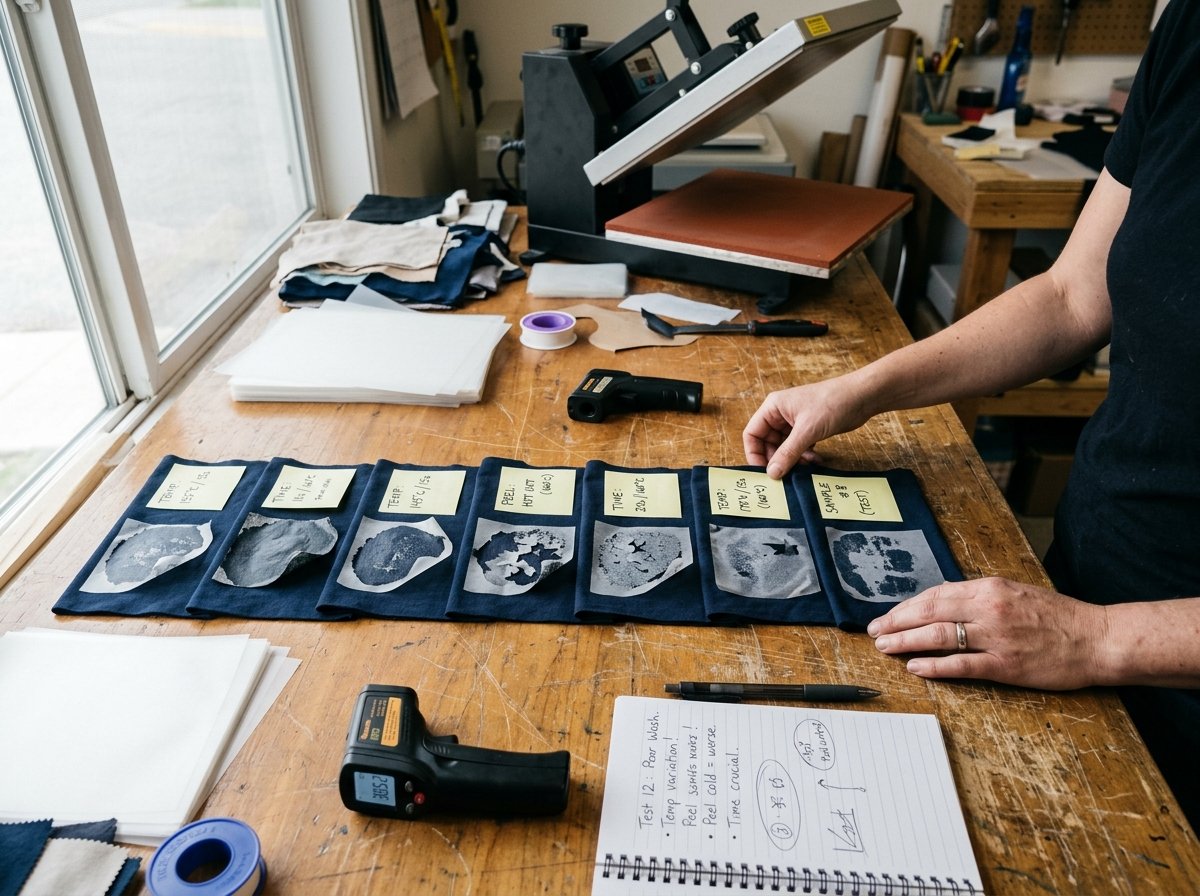
When you’ve checked the obvious variables and transfers are still failing, the answer is single-variable isolation: change one thing at a time, document the result, and work through a structured decision tree.
The industry has converged on increasingly precise parameter ranges and process checklists for diagnosing non-sticky transfers. ↗ Guides from multiple sources stress environmental controls — keeping powders and films in cool, dry storage and accounting for humidity — as emerging focus areas for reducing unexplained adhesion failures in professional shops.
Obziy specifically identifies expired or low-quality adhesive powder, ink-powder incompatibility, high humidity causing damp consumables, and special fabric coatings as documented contributors to adhesion failure. ↗ These are the variables that surface only after the obvious temperature-time-pressure trio has been ruled out.
Here’s a practical eight-step protocol:
- Inspect the reject. Where exactly did the transfer fail — edges, center, random patches? The pattern tells you the category.
- Verify platen temperature with an infrared thermometer. Don’t trust the display.
- Check pressure by pressing a piece of paper — it should require firm force to pull out when the press is closed.
- Confirm film peel type — cold, warm, or hot — and match your peel timing to it.
- Pre-press a test garment for 5–10 seconds to eliminate moisture as a variable.
- Examine powder coverage on an unpressed transfer — look for bare spots and clumps.
- Audit storage conditions. Powder and film stored in humid environments absorb moisture that disrupts the melt.
- Test with a different transfer supplier’s product — but only after steps 1–7 have been eliminated.
The order matters. Steps 1–5 cost nothing and take minutes. Step 8 costs money and time. Too many shops start at step 8.
For a quick reference on which settings to test first for your specific fabric, our heat press settings reference breaks down calibrated ranges by substrate type. And if you’re building gang sheets and want to optimize film usage while troubleshooting, our DTF gang sheet layout tool runs entirely in your browser — no upload, no login, no server-side processing of your design files.
When to Suspect the Equipment, Not the Operator
Home irons, aging presses with dead heating zones, and machines that can’t hold consistent temperature across the platen are equipment-level failures that no amount of operator skill can overcome.
InkSonic explicitly warns that using a home iron instead of a quality heat press often leads to DTF transfers not adhering properly. ↗ The recommendation is pressing at 300–320°F for 15–20 seconds with firm, even pressure while checking for hot spots on older presses.
This isn’t gatekeeping — it’s physics. A home iron’s surface area is too small to heat a full transfer evenly, its pressure is inconsistent because it depends on the operator’s arm strength, and its thermostat cycles on and off rather than maintaining a steady temperature. The result is a transfer that’s fully bonded in one spot and barely tacked in another.
Older commercial presses develop similar problems as heating elements degrade. Hot spots and cold spots across the platen create a patchwork of adhesion quality that’s maddening to diagnose because the failures seem random. An infrared thermometer sweep across the platen — checking center, corners, and edges — reveals these zones in seconds.
If you’re evaluating whether your equipment is the bottleneck, our DTF equipment checklist covers the specs that matter for consistent adhesion, including platen size, pressure range, and thermal stability. And for anyone weighing whether DTF is the right decoration method for their product mix in the first place, our DTF vs sublimation comparison lays out the trade-offs without steering you toward either — because we don’t sell printers, film, or transfers.
Check whether your fabric is DTF-compatible before you press — use our free Fabric Compatibility Checker to see recommended temperature, pressure, and pre-treatment for 14 fabric types.
FAQ
Can I fix a DTF transfer that has already partially lifted after pressing?
In many cases, yes. Jiffy’s guide recommends repressing the affected area for about 5 seconds with parchment paper and slightly increased pressure. ↗ This works best when the failure is localized — a lifted edge or a small patch near a seam. If the entire transfer lifts uniformly, the problem is likely systemic (temperature too low, moisture in the fabric) and repressing won’t create a durable bond. Diagnose the root cause before pressing the rest of the batch.
Why do my DTF transfers stick fine on cotton but fail on polyester?
Cotton and polyester require different press settings. DTF Virginia recommends about 290°F for polyester versus 310°F for cotton. ↗ Polyester is more heat-sensitive — pressing it at cotton temperatures can cause the fabric to scorch or the adhesive to over-melt and lose its bonding structure. If you’re running both fabrics, adjust your press settings between batches rather than using a single "universal" setting.
Does the brand of adhesive powder matter, or is technique more important?
Technique matters more in the vast majority of cases. Guides from multiple independent sources consistently point to application method — shaking rather than rubbing, applying while ink is wet, ensuring full coverage — as the primary determinant of powder performance. ↗ Expired powder or powder stored in high-humidity conditions can degrade regardless of brand, so storage discipline is the second factor to control. ↗ Switching brands should be the last diagnostic step, not the first.