DTF Film Roll Yield: How Many Designs You Actually Get From a 60cm × 100m Roll
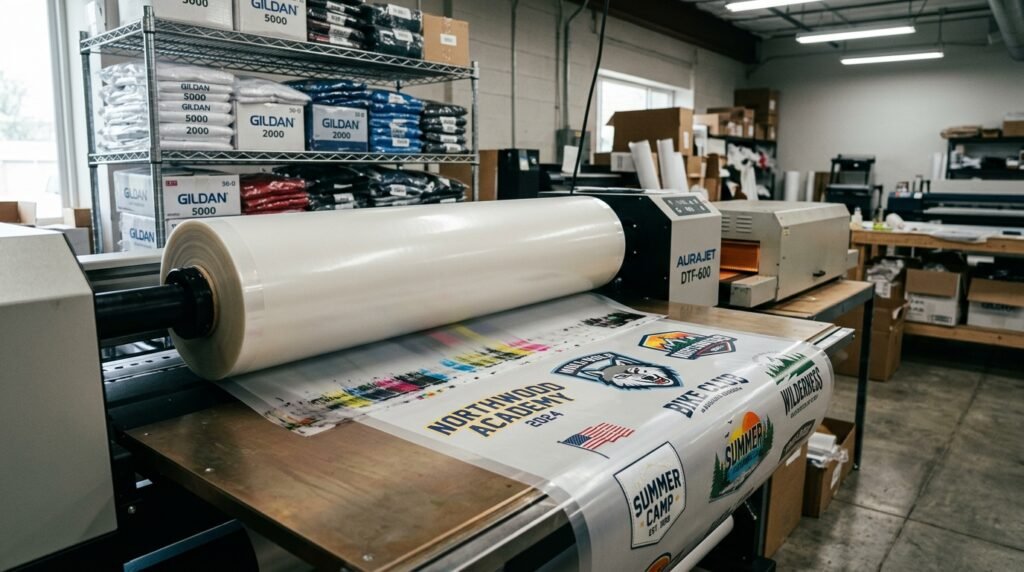
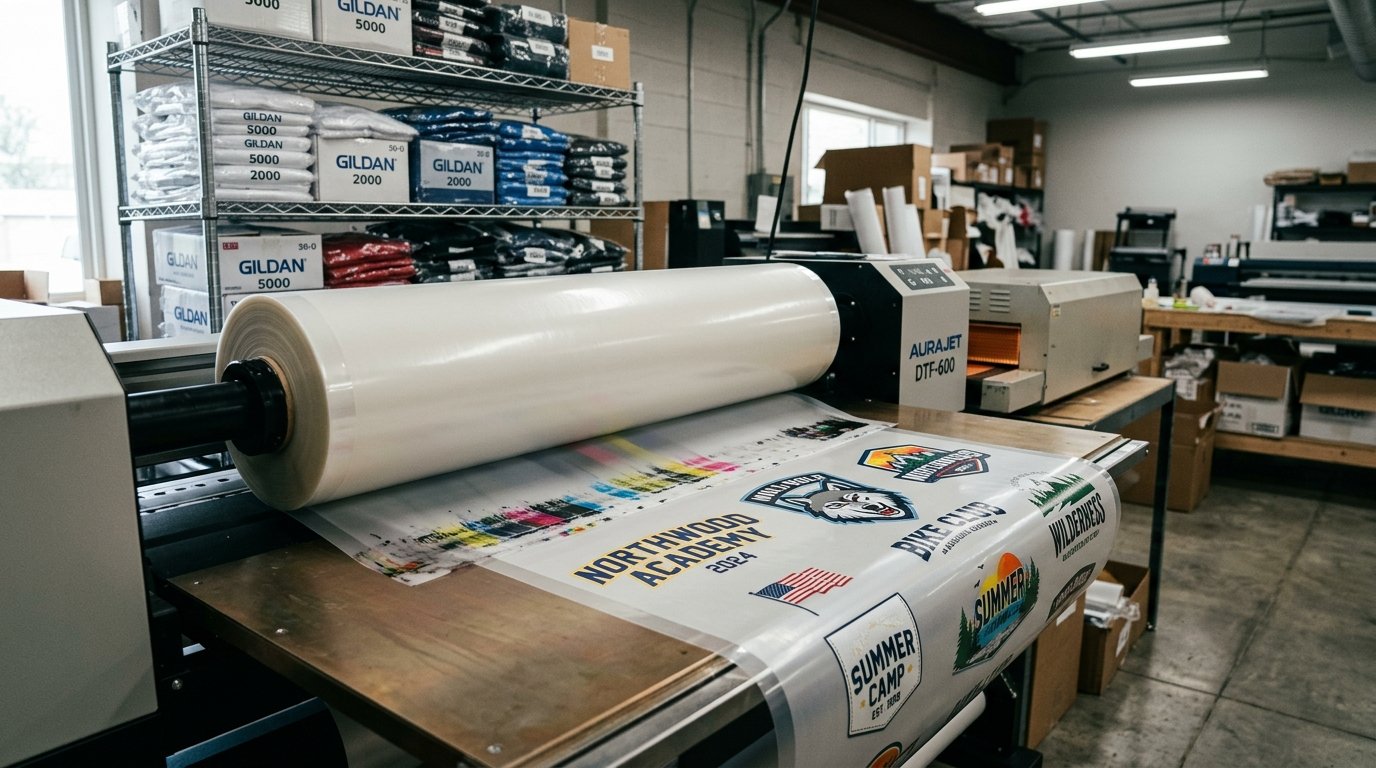
You listed a tee on Etsy, sold fourteen last weekend, felt great — then subtracted Etsy fees, shipping labels, blanks, ink, powder, and the cost of the DTF film roll you burned through. The margin that landed in your bank account was far thinner than the healthy percentage you imagined. The single biggest variable hiding inside that math is the number of usable designs you actually pull from each roll of film, because that number divides your film cost into a per-print figure that either makes or breaks the listing price.
This post replaces guesswork with a worked table.
Key Takeaways
- A standard 60cm × 100m DTF film roll provides 6 m² of nominal printable area, setting the theoretical ceiling on designs per roll [1].
- Full-chest prints (30 cm × 30 cm) yield roughly 200–300 designs per roll when gang-sheeted efficiently [1].
- A4-sized transfers (~20 cm × 29 cm) land around 660 per roll at good packing density [1].
- Small left-chest logos (10 cm × 10 cm) can exceed 1,000 designs on a single 60cm roll with tight nesting [1].
- Gang sheeting can double your yield compared to printing one design at a time [1].
- Artwork prep, RIP nesting, and cutting strategy can swing yield by 50–100% between a sloppy and an optimized workflow [2].
- Edge margins, purge strips, misprints, and peel-spacing losses typically consume a notable share of theoretical area, so real-world totals run lower than pure math suggests [3].
Why "Designs Per Roll" Is the Number That Actually Sets Your Margin
The physical upper bound on any DTF film roll is fixed by two dimensions — width and length — and every design you waste space on pushes your per-print cost higher. A 60 cm-wide roll sold in a 100 m length gives you a nominal printable surface of 6 m² [4]. That sounds like a lot of film. It is — until you realize that a single full-chest graphic eats a substantial chunk of it, and the margins, misprints, and purge strips nibble away at the rest.
Resellers who price by feel tend to divide the roll cost by some round number — "I’ll get about 500 prints" — and bake that into their listing. When the actual yield turns out to be significantly lower because the designs were large and the nesting was loose, the per-print film cost nearly doubles. On a typical Etsy listing, that hidden cost is the difference between a comfortable margin and one that barely covers your time. Knowing the real number before you order the roll is not optional; it is the foundation of a quote that holds up after platform fees.
If you want to check your post-fee margin before committing to a price, the math starts here — with designs per roll.
What a 60 cm × 100 m DTF Film Roll Actually Gives You
The roll dimensions are standardized across most suppliers: 60 cm wide, 100 m long, 75 µm thick PET film. Whether you buy from a UK distributor, a European manufacturer, or a US vendor, the physical envelope is nearly identical. EU-made rolls from DTF.technology specify 6,000,000 mm² of total printable area on a 60 cm × 100 m roll [1]. US-market equivalents — sold as 24-inch × 328 ft rolls — land in the same dimensional range [5].
That consistency is useful. It means the yield tables in this post apply regardless of which brand of film you run, as long as you are on a 60 cm-format printer [4]. The variable is not the film. The variable is what you do with it.
Width options below 60 cm do exist — 30 cm and 42 cm are common [6]. Doubling from 30 cm to 60 cm does not always double your real-world yield, though, because margins and nesting inefficiencies scale differently on a wider web [1]. Still, for production-volume resellers, the 60 cm roll is the workhorse format, and the rest of this post assumes you are using one.
Design-Size Yield Table: From Left-Chest Logos to Full-Chest Prints
Your yield per roll depends almost entirely on the average design footprint and how tightly your RIP nests them. Here are the reference ranges sourced from vendor specifications, all for a single 60 cm × 100 m DTF film roll:
| Design Size | Description | Approximate Yield |
|---|---|---|
| 10 cm × 10 cm | Left-chest logo | 1,000+ designs [1] |
| ~20 cm × 29 cm | A4-sized transfer | ~660 designs [1] |
| 30 cm × 30 cm | Full-chest print | 200–300 designs [1] |
Those numbers assume efficient gang-sheet packing. Print one design at a time — centered on the film with white space on both sides — and a layout that should yield 660 A4 transfers might deliver fewer than 330 [1]. That is a 50% yield penalty for nothing more than a lazy layout.
Most Etsy and Shopify resellers work with a mix of sizes: some left-chest logos, some mid-sized sleeve prints, some full-front graphics. A realistic blended average for a mixed-size production run on a well-nested roll spans a wide range — from a few hundred designs for large graphics with mediocre nesting up to many hundreds for small logos packed tightly. Your number lives somewhere in between, and the only way to pin it down is to run your actual artwork through a gang sheet builder that reports area utilization.
Where Your Film Actually Goes: The Yield-Loss Breakdown
Between theoretical area and usable prints, a meaningful fraction of the roll disappears into margins, waste, and spacing — and the split matters for budgeting. Here is where the film goes:
Edge margins. DTF Superstore’s application notes flag that unprintable margins and leading/trailing waste consume measurable film at the start and end of every roll [5]. On a 60 cm roll, even 5 mm of unusable border on each side adds up over 100 meters.
Purge and calibration strips. Registration drift over a long print run can force extra spacing between designs [7]. Automatic take-up systems help, but older printers without tension control may need wider gaps.
Misprints and rejects. Designs with heavy white ink coverage or large solid fills may require larger clear margins for clean cutting [8]. Two designs of the same physical dimensions can produce different real yields if one has a complex edge and the other is a simple rectangle.
Peel spacing. The DTF process requires powder application and curing before heat pressing [3]. Designs packed too tightly can fuse during powder application. Cold-peel workflows tend to need slightly more breathing room than hot-peel, adding another spacing tax.
The practical takeaway: budget conservatively — assume that the dominant share of your theoretical area will be usable — and treat any improvement beyond that as margin upside. If you want to see how these losses interact with ink and powder costs, the DTF equipment list breaks down the full consumables picture.
Turning Yield Into a Per-Design Cost (and Then Into a Price)
Film cost per design is the foundation of your quote, but it is only one layer — you need to stack ink, powder, platform fees, and blanks on top before you can see your real margin.
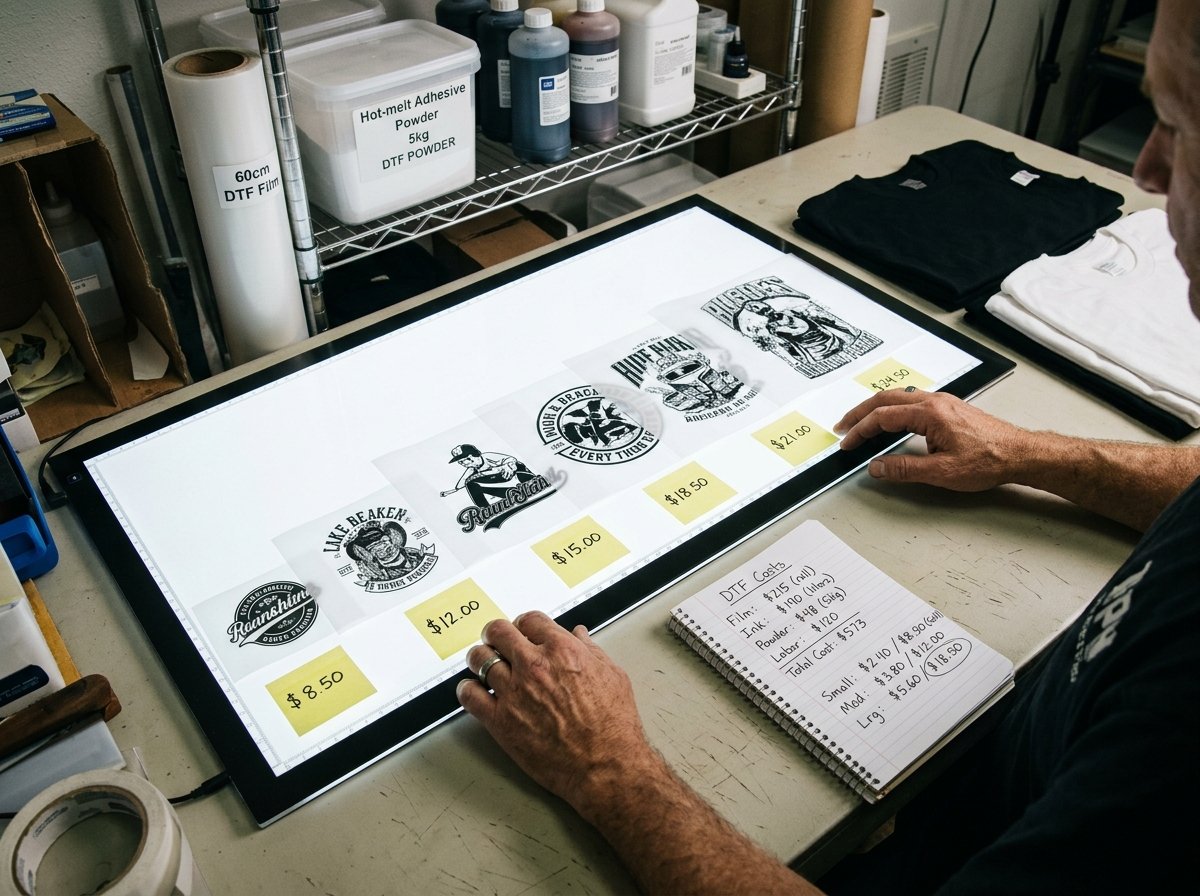
The math is straightforward once you have a yield number:
- Film cost per design = Roll price ÷ usable designs per roll.
- Total consumable cost per design = Film cost + ink cost + powder cost per transfer.
- Total cost per garment = Consumable cost + blank + packaging + shipping label.
- Break-even price = Total cost ÷ (1 − platform fee rate).
- Target price = Break-even price ÷ (1 − target margin).
Suppose your 60 cm × 100 m DTF film roll costs a typical market price and your blended yield is several hundred designs. The film cost per design will be a fraction of a dollar — often well under a quarter. Add ink and powder — which one French DTF cost analysis pegs as a meaningful additional layer [9] — and you might land at $0.55–$0.90 per transfer depending on ink coverage. Stack your blank, poly mailer, and shipping label on top, and the all-in cost per garment climbs quickly. After the marketplace takes its cut in transaction and payment-processing fees, the margin on a mid-teens listing price can be tighter than you expect.
Change the yield assumption from several hundred to a few hundred (bigger designs, worse nesting), and the film cost per design rises noticeably. That alone does not wreck the margin. But it compounds: bigger designs also burn more ink, more powder, and more press time. Suddenly the margin drops by ten or more percentage points.
Run your numbers in the DTF Price Calculator to confirm your post-fee margin lands in the 30–50% range.
The opinion here is blunt: any reseller who does not calculate film cost per design before setting a listing price is donating margin to the marketplace. The difference between a low-yield roll and a high-yield roll is not a rounding error — it is the difference between a hobby and a business.
Gang Sheeting: The Single Biggest Lever on Your DTF Film Roll Yield
Switching from single-design printing to optimized gang sheets is documented to increase designs per production run by around 70% in at least one trade case study [10]. That is not a marginal improvement. It is the equivalent of getting a second roll for free every three rolls you print.
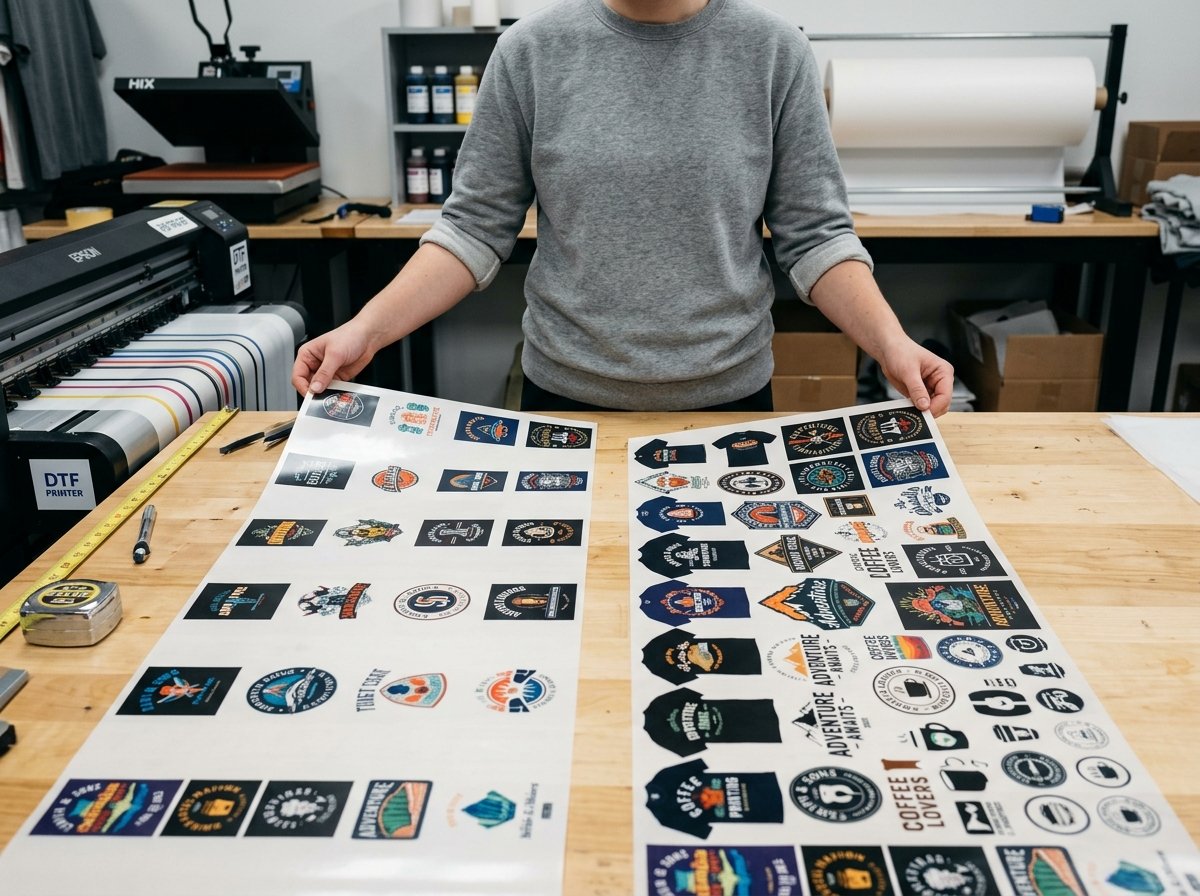
Gang sheeting means placing multiple designs side by side on the film, filling as much of the 60 cm width as possible before advancing to the next row. DTF.technology states plainly that this approach can "easily double your yield compared to printing one design at a time" [1].
Three things make gang sheeting work:
RIP software with automated nesting. RIPs that support automated nesting and minimal inter-design spacing will outperform manual layout every time [1]. Updated DTF-capable printer firmware from OEMs now includes improved nesting features specifically designed to maximize designs per roll [7]. If your RIP does not nest automatically, you are leaving film on the table.
Clean artwork files. Artwork supplied at 300 DPI in PNG or TIFF with transparent backgrounds packs more efficiently than files with extraneous background elements [2]. A stray white bounding box around a design can add centimeters of wasted space on every side. Use a file size checker to verify your artwork is print-ready before sending it to the RIP.
Mixed-size batching. The real magic happens when you combine different-sized designs on the same sheet. A full-chest 30 cm × 30 cm graphic leaves a 30 cm × 30 cm gap beside it on a 60 cm roll. Fill that gap with three 10 cm × 10 cm left-chest logos and you have just reclaimed 300 cm² that would otherwise be blank film.
Print resolution matters too. DTF Transfer Zone recommends 300 DPI or higher for gang sheets, noting that densely packed layouts at this resolution maintain image quality while increasing usable designs per meter [11].
One misconception worth flagging: doubling the roll width from 30 cm to 60 cm does not guarantee double the yield. Margins and nesting inefficiency mean real-world gains often fall short of a pure 2× calculation [1]. The 60 cm roll is still the better value for production, but do not assume a linear scaling when budgeting.
If you are still laying out designs by hand in Photoshop, the free gang sheet layout tool automates the nesting and shows you the area utilization percentage before you commit a single drop of ink.
Common Yield Mistakes Resellers Make (and How to Fix Them)
The most expensive assumption in DTF reselling is that roll yield is a fixed property of the film. It is not. Vendor guides consistently show that artwork preparation, RIP nesting, print resolution, and cutting strategy can change the number of usable designs per roll by 50–100% between a poorly optimized and a well-optimized workflow [2].
Here are the mistakes that cost the most film:
Treating yield as a film spec. A roll of film does not "contain" 500 designs any more than a ream of paper "contains" 500 letters. The film provides area. Your workflow determines how much of that area becomes a sellable transfer. Stop asking "how many designs does this roll give me?" and start asking "how many designs does my workflow extract from this roll?"
Ignoring heat-press compatibility. Transfers that peel after the first wash are not just a customer service problem — they are a yield problem. Every reprint is a design slot burned on the same roll. Dial in your heat press settings for each fabric type before running a production batch, not during it.
Skipping the test strip. Registration drift over a long print run is real [7]. Running a short calibration strip at the start of each roll costs a few centimeters of film but can prevent misregistered designs that waste far more.
Using the wrong file format. Files with opaque backgrounds or embedded borders inflate the bounding box of each design, which means the RIP reserves more film per design than the visible artwork requires [2]. Transparent PNGs at 300 DPI are the standard for a reason.
Worth stating directly: the resellers who track cost per design on every roll — not just the first one — are the ones who consistently hit 30–50% margins. The ones who estimate once and never revisit are the ones posting in forums about "barely breaking even." The difference is a spreadsheet and fifteen minutes of attention per roll. For a deeper look at how Etsy and Shopify margin math works across different business models, that guide walks through the fee structures side by side.
Putting It All Together: Your Pre-Order Checklist
Before you buy your next DTF film roll, run through this five-point checklist to lock in your cost per design and your target listing price.
- Measure your average design footprint. Pull your last 20 orders. What percentage were left-chest, mid-size, or full-chest? Weight the yield table accordingly.
- Estimate your nesting efficiency. If you use automated RIP nesting, budget for the majority of theoretical area to be usable. Manual layout will be noticeably lower.
- Calculate film cost per design. Roll price ÷ (theoretical yield × nesting efficiency × (1 − reject rate)).
- Stack all consumable costs. Film + ink + powder + blank + packaging + label = total cost per garment.
- Back into your listing price. Total cost ÷ (1 − fee rate) ÷ (1 − target margin). If the price looks too high for your market, the lever is nesting efficiency — not hope.
Plan your next roll with the free Gang Sheet Builder — auto-nest designs and see cost per print before you order.
FAQ
How many designs can I get from a 60 cm × 100 m DTF film roll?
Between roughly 200 and over 1,000, depending on design size. Full-chest 30 cm × 30 cm prints yield about 200–300 per roll [1], A4-sized transfers around 660 [1], and small 10 cm × 10 cm left-chest logos can exceed 1,000 [1]. Gang sheeting and RIP nesting have the largest impact on where your number falls within those ranges.
Does a 60 cm roll always yield exactly twice as many designs as a 30 cm roll?
Not in practice. While the 60 cm roll has double the width, margins, waste, and nesting inefficiencies mean that real-world gains often fall short of a pure 2× area calculation [1]. The 60 cm format is still more efficient for production runs, but budget conservatively rather than assuming linear scaling.
What is the single most effective way to reduce film waste?
Gang sheeting — placing multiple designs side by side rather than printing one at a time. This technique can easily double your yield compared to single-design printing [1], and one trade case study documented a 70% increase in designs per production run simply by switching to optimized gang-sheet layouts [10]. Pair it with automated RIP nesting and transparent-background artwork files for the best results.