DTF Gang Sheet White Space Cost: The Margin Leak Most Resellers Never Measure
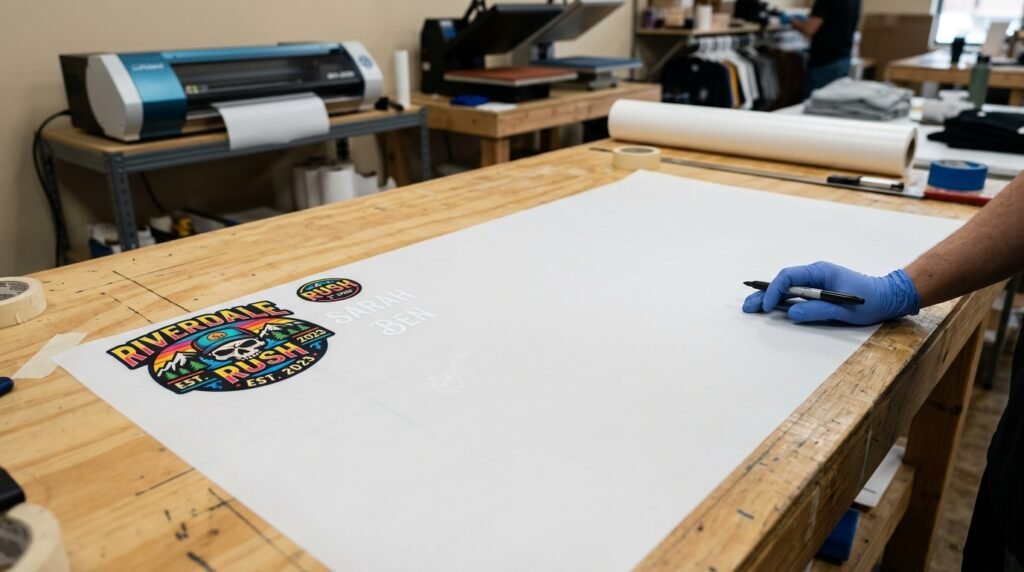
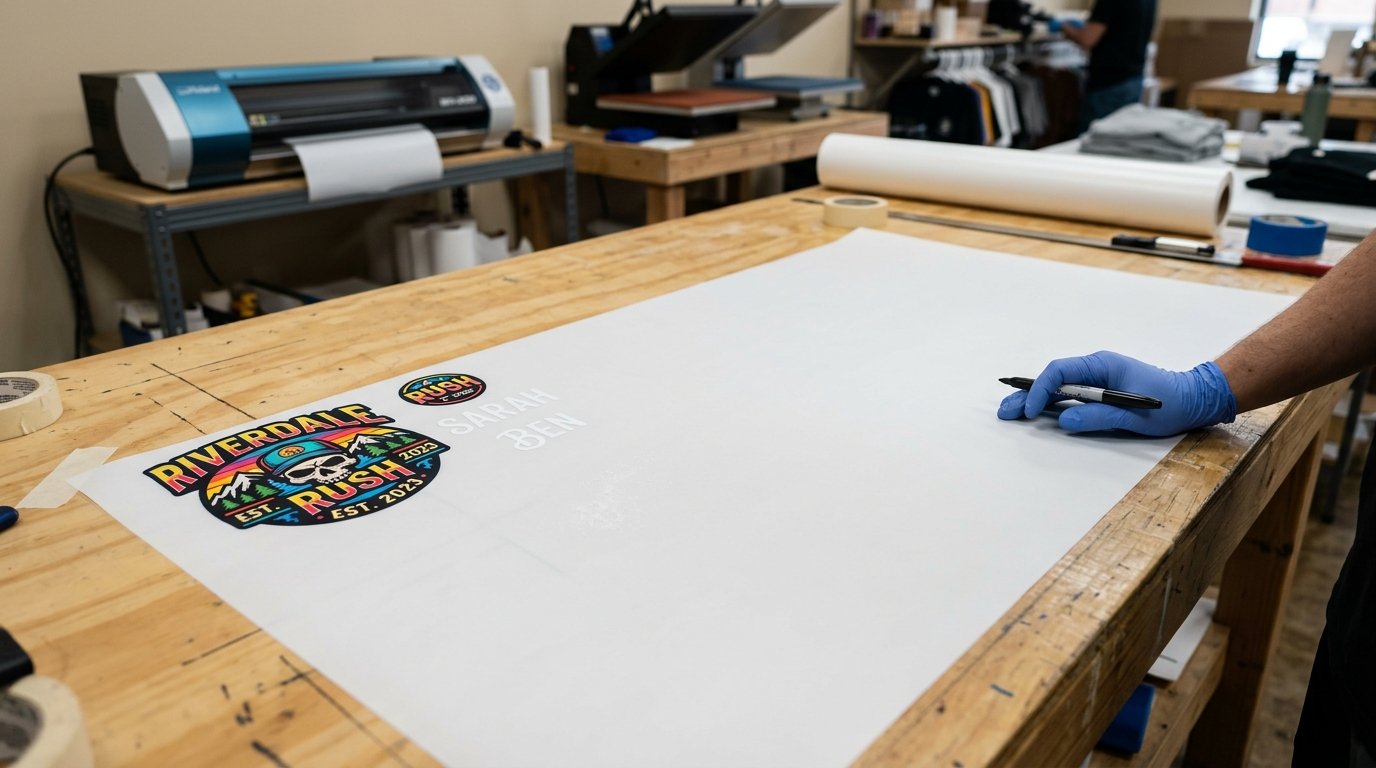
You already know your Etsy fees. You already know your blank costs. But there’s a line item silently eating your profit on every single order — and it never shows up on a receipt. It’s the white space on your gang sheet. That unprinted film you paid for, ran through your printer or your supplier’s printer, and threw away without a second thought. If your margins keep landing under 20% after platform fees and you can’t figure out why, the answer might be sitting in the gaps between your transfers. Understanding DTF gang sheet white space cost is how you stop pricing by feel and start pricing from reality.
Key Takeaways
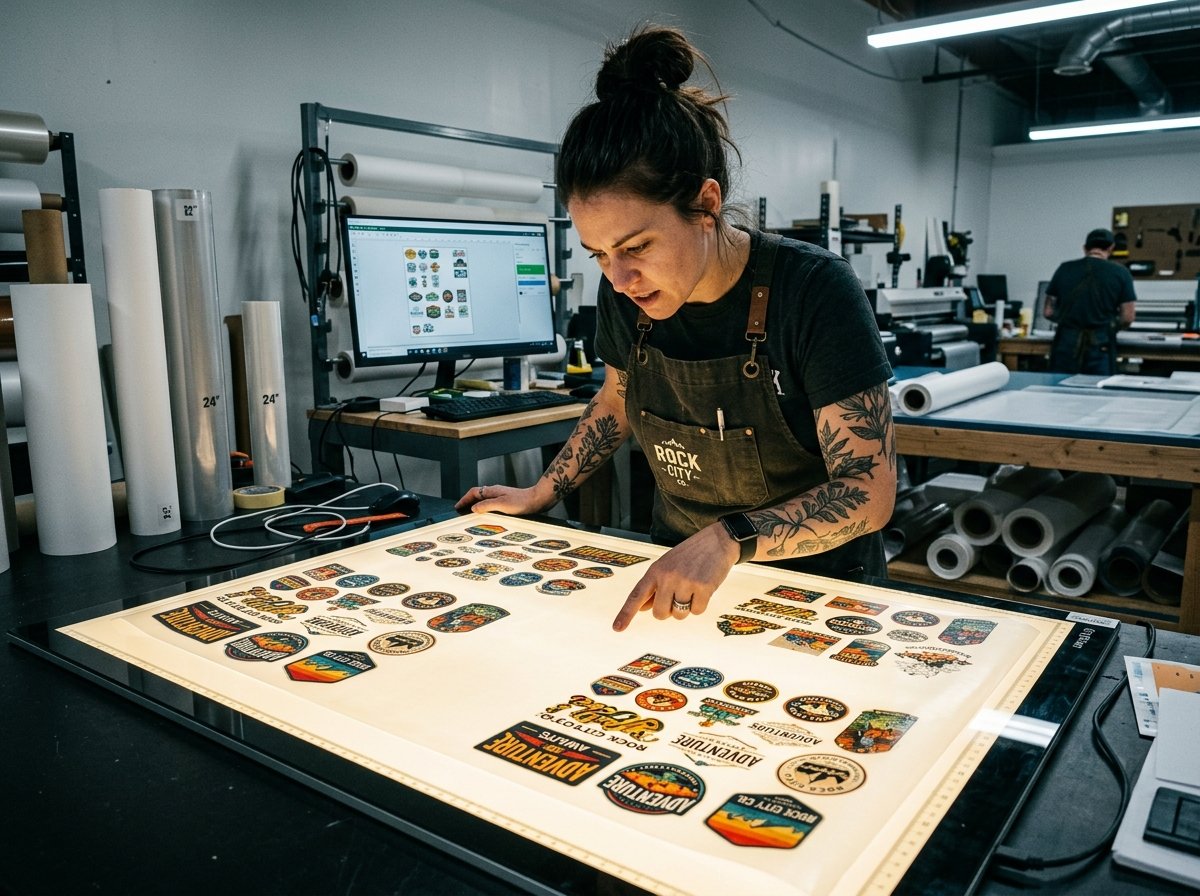
- Hand-placed grid layouts typically hit only 50–60% film utilization, meaning nearly half your sheet goes to waste [1].
- Nesting algorithms that rotate and interlock designs can push utilization to 85% or higher, dramatically lowering cost per transfer [1].
- Moving from 60% to 85% utilization on a 22 in × 120 in roll is equivalent to gaining 30 inches of free film per sheet [1].
- A mere 5 mm reduction in logo dimensions can increase yield from 36 to 55 units on the same sheet, a 53% swing [2].
- Trim gaps should be just wide enough to cut — not decoratively spaced — with minimums as tight as 1.5–3 mm depending on your workflow [3].
- Film cost scales with sheet length, not artwork area, which means layout waste directly inflates your per-transfer cost [4].
- Many shops lose 18–25% of every roll to wasted gaps alone, plus 15–30 minutes of manual prep time per sheet [3].
The 30% Margin Leak Hiding in Your Gang Sheet
If you’re laying out gang sheets by hand in Photoshop and eyeballing the spacing, you’re probably printing at 50–60% utilization — and paying full price for the rest. That’s not a rounding error. That’s a margin leak wide enough to explain why your post-fee profit feels thin.
PDFPress reports that hand-placed grids typically achieve only 50–60% film utilization [1]. Think about what that means: for every dollar you spend on film, roughly forty to fifty cents buys you blank space. No ink. No powder. No sellable transfer. Just white PET film headed for the trash.
The scale of this waste becomes concrete on longer rolls. Moving from 60% to 85% utilization on a 22 in × 120 in roll is equivalent to getting an extra 30 inches of film for free [1]. That’s not a marginal improvement. That’s almost a full extra foot of printable area on every single sheet — film you already paid for but never used. When you multiply that across dozens of sheets per week, the DTF gang sheet white space cost starts to look less like a layout nuisance and more like the single biggest lever you have for reaching a 30–50% margin.
What "Sheet Utilization" Actually Measures
Sheet utilization is the percentage of your total film area that’s covered by actual artwork — and it’s the one number that connects your layout decisions directly to your cost per transfer.
The formula is straightforward: take the total area of all artwork on the sheet, divide by the total film area (width × length), and multiply by 100 [4]. A 22 in × 60 in sheet contains 1,320 square inches of film. If your designs cover 990 of those square inches, you’re at 75% utilization — and 330 square inches of paid film carried no ink and produced no sellable product [4].
Why does this ratio matter more than, say, total designs per sheet? Because of how DTF costs actually break down. Three of the four major cost components — ink, adhesive powder, and labor — scale with the amount of artwork you print. But film cost scales with film length [4]. You pay for 60 inches of film whether you cover 40 inches with designs or 55. The unused length is pure overhead.
A layout with 30% wasted length costs about 30% more per usable transfer [1]. That’s the direct math. No assumptions about ink savings or bulk discounts — just the geometry of what you printed versus what you paid for.
Standard DTF machines commonly use a 22-inch film width [4], which means your width is fixed. You can’t make the film narrower to match a small order. The only variable you control is how efficiently you fill that fixed width — and how far down the roll you need to go. Every inch of unnecessary length is money that vanishes before you even press a transfer onto a shirt.
Why Row-Based Layouts Bleed Money
Neat rows of identically spaced designs look organized, but "organized" and "efficient" are not the same thing — and the gap between them can cost you 25 percentage points of utilization.
There’s a satisfying tidiness to placing designs in a grid: same spacing, same alignment, everything squared up. It feels efficient. The problem is that most designs aren’t rectangles. Logos curve. Text blocks vary in width. A left-chest graphic and a full-back print don’t tile neatly side by side. When you force them into rows, you create pockets of dead space — between designs, at row edges, at the bottom of the sheet — that add up fast.
PDFPress reports that these hand-placed grids typically achieve only 50–60% utilization, while nesting algorithms that can rotate and interlock designs push that number to 85% or higher [1]. That’s not a theoretical ceiling; it’s what software designed for this problem routinely delivers.
The misconception runs deep. A sheet filled with neatly aligned rows looks full. But measuring the actual artwork-to-film ratio tells a different story. Picture a row of circular logos in a grid — each one sits inside an invisible square, and the corners of that square are pure waste. Now picture those same circles rotated and staggered like a honeycomb. Same designs, dramatically less dead space.
Another mistake that compounds the problem: treating the gap between designs as an aesthetic choice rather than a production constraint. DTFXpress and PDFPress both frame spacing as having hard minimums — 3.0 mm, 0.5 inch, or 0.25 inch depending on the cutting method and workflow [2]. Going below those minimums risks transfers fusing during cure [1]. But going above them — leaving half-inch margins everywhere because it "looks cleaner" — is paying for film that does nothing.
The recommended default gap is 0.5 inch between designs, with 1 inch reserved for large or hand-cut pieces [1]. Those numbers are functional, not decorative. DTFXpress puts it simply: keep the gap just wide enough to trim with scissors or a craft blade [2].
The Real Cost-Per-Transfer Math at Three Utilization Tiers
When you run the numbers at 55%, 75%, and 85%+ utilization, the cost difference per transfer isn’t subtle — it’s the difference between a viable business and one that’s slowly bleeding out.
Here’s where the DTF gang sheet white space cost stops being abstract. Consider a 22 in × 60 in sheet — a common size for Etsy and Shopify resellers ordering from a supplier. The total film area is 1,320 square inches [4]. At 55% utilization (a typical hand-placed layout), just over half that area carries artwork. At 75%, you’re covering 990 square inches [4]. At 85%, the vast majority of the sheet is working for you.
The film cost is identical in all three scenarios — you paid for 1,320 square inches regardless. But the number of usable transfers you pull off that sheet changes dramatically. If your average design footprint is, say, 30 square inches, the jump from 55% to 85% utilization means substantially more sellable transfers from the same sheet. Same price. Same film. More revenue per print run.
Improving utilization from 60% to 85% on a 22 in × 120 in roll is equivalent to getting an extra 30 inches of film for free [1]. That’s not a coupon. That’s not a volume discount from your supplier. It’s pure geometric efficiency — value you extract from film you already bought.
Many shops lose 18–25% of every roll to wasted gaps [3]. On top of the film waste, those same shops spend 15–30 minutes prepping each sheet in Photoshop [3]. That’s labor cost layered on top of material cost, both driven by the same root problem: manual layouts that don’t optimize for coverage.
A position worth stating plainly: if you’re a reseller ordering gang sheets from a supplier and you’re not specifying layout density or checking utilization before approving a proof, you’re outsourcing your margin to someone who has no incentive to maximize it. Your supplier charges by sheet size. Filling that sheet is your job.
How 5 Millimeters Changes Your Yield by More Than Half
A tiny change in design dimensions — trimming just 5 mm from each side of a logo — can swing your yield per sheet by more than half, which is one of the most underappreciated variables in DTF gang sheet white space cost.
DTFXpress published a striking example. On a 50 × 100 cm sheet, a 9.5 × 9.5 cm circular logo fits 5 wide by 11 deep, yielding 55 logos per sheet [2]. Bump that logo up to 10 × 10 cm — just 5 mm larger on each dimension — and the same sheet fits only 4 wide by 9 deep, for 36 logos [2].
That’s 55 versus 36. A yield difference of more than half from a change most customers wouldn’t notice on a finished garment.
This matters for resellers in two directions. First, when you’re designing your own artwork, sizing it with sheet yield in mind can meaningfully lower your cost per unit. Second, when customers submit artwork, even a gentle suggestion to trim unnecessary whitespace around their design can unlock extra capacity on your sheet.
A 22 × 60 inch sheet typically accommodates 20–35 designs depending on size and spacing, with 2–3 inch designs reaching the high end and 6–8 inch designs landing at the low end [5]. Each row can hold 4–8 designs depending on width [5]. These aren’t fixed numbers — they’re ranges that shift based on exactly how tight you pack.
Larger sheet formats amplify this effect. Brandum notes that a 1-metre gang sheet of 57 × 100 cm provides 4.6 times more printable area than an A3 sheet at less than a third of the cost per square centimeter [6]. The misconception that larger sheets are only for oversized graphics misses the point entirely — larger sheets are where small, densely packed designs achieve their lowest possible unit cost [5].
A Five-Step Nesting Playbook for Resellers
Tighter nesting isn’t just about software — it’s a workflow that starts with knowing your supplier’s bleed rules and ends with confirming every gap meets the minimum for clean trimming.
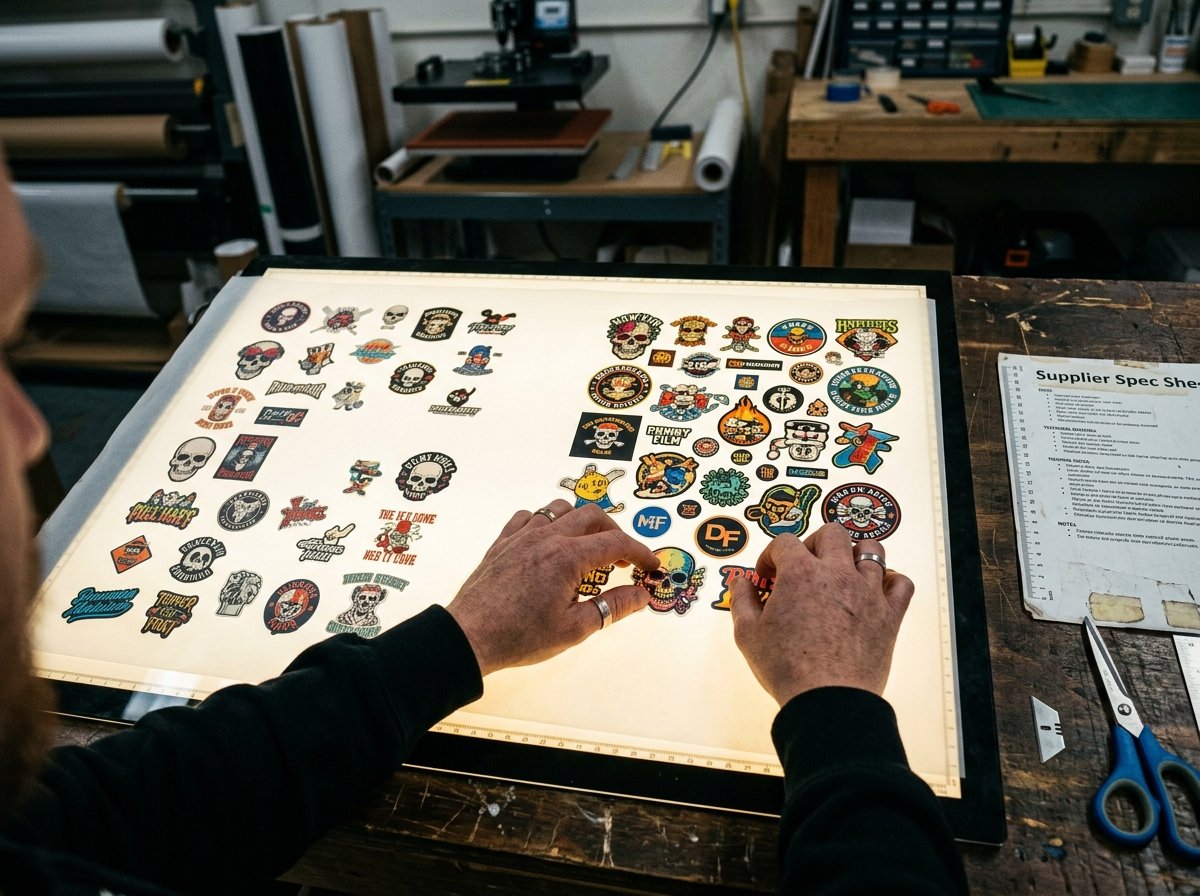
Here’s a practical sequence that works whether you’re building sheets yourself or reviewing proofs from a supplier:
Step 1: Check your supplier’s bleed and margin rules. Every printer has slightly different requirements. Some need 0.25 inch of edge margin minimum [1]. Others specify trim gaps of 1.5–3 mm between transfers [3]. If your white-channel choke isn’t automated, you may need to pull the white edge inward by 0.5–1 mm manually [3]. Get these numbers before you start placing anything.
Step 2: Set your trim gap — and stick to it. The default recommendation is 0.5 inch for most designs, 1 inch for large or hand-cut pieces [1]. Don’t go wider "just to be safe." That safety margin is costing you real money on every sheet. DTFXpress recommends gaps just wide enough to allow trimming with scissors or a craft blade — nothing more [2].
Step 3: Group designs by garment or order. This isn’t about utilization — it’s about not losing your mind during pressing. But it does affect layout efficiency, because grouping forces you to think about which designs share similar dimensions and can tile together.
Step 4: Rotate and interlock. This is where the real gains happen. A nesting algorithm that can rotate designs and fit them into irregular gaps pushes utilization to 85% or higher [1]. If you’re doing this manually, start by placing your largest designs first, then fill gaps with smaller ones. Sticker Supply Shop explicitly advises nesting smaller designs around larger ones to use all available space [7].
Step 5: Measure before you print. Calculate your utilization using the formula: artwork area ÷ (film width × film length) × 100 [4]. If you’re below 70%, rearrange. If you’re below 60%, you’re leaving serious money on the sheet.
For export, a common recommendation is designing gang sheets at 18 × 22 inches and exporting as PDF/X-1a:2001 or using a High Quality Print preset [7]. Minimum line weights inside artwork should be at least 3.0 mm for both white and colored lines [2].
Manual Layout vs. Nesting Software: Where the Breakeven Falls
Manual layout in Photoshop or Illustrator can work for simple, uniform designs — but the moment your orders include mixed sizes, manual placement costs more in wasted film and labor than a nesting tool saves in subscription fees.
The numbers frame this clearly. Hand-placed grids: 50–60% utilization [1]. Algorithmic nesting: 85% or higher [1]. That 25-point gap, applied across even a modest volume of weekly sheets, adds up to hundreds of dollars in wasted film per month.
But there’s a nuance worth acknowledging. If you’re printing a single design repeated at uniform size — say, 50 identical left-chest logos — a simple grid in Photoshop can actually achieve decent utilization. The waste problem explodes when you’re mixing sizes: a few full-back prints, a handful of pocket logos, some sleeve hits, maybe a hat transfer or two. That’s where manual placement falls apart and nesting software earns its keep.
The time cost matters too. Many shops spend 15–30 minutes prepping each sheet manually [3]. At even modest hourly rates, that labor adds a meaningful per-sheet cost that doesn’t show up in your material calculations but absolutely shows up in your margin.
One thing to watch for: not every tool marketed as a "DTF gang sheet builder" actually nests algorithmically. Some are glorified canvas tools that still require you to drag and drop. The feature that matters is automatic rotation and interlocking — without that, you’re just doing manual layout with a slightly nicer interface.
The breakeven question isn’t really about the software cost. It’s about volume. If you’re printing five sheets a week and each one gains 25 percentage points of utilization, the math resolves itself quickly. If you’re printing two sheets a month, the manual approach might still pencil out — but you should at least measure your utilization to know what you’re leaving on the table.
From Utilization to Margin: Connecting the Sheet to Your Storefront Price
Knowing your sheet utilization is only useful if you feed that number back into your pricing — because the whole point of tighter nesting is hitting 30–50% margin after platform fees, not just feeling good about a full-looking sheet.
Here’s where DTF gang sheet white space cost connects to the question that probably brought you here: why are my margins so thin?
Consider a simplified scenario. You order a 22 × 60 inch gang sheet from a supplier. At 55% utilization, you get a modest number of usable transfers — just over half the sheet is working for you. At 85%, the sheet is packed tight and you’re pulling significantly more sellable designs from the same film. If the sheet costs you the same either way — and it does — your cost per transfer drops by roughly a third just from packing tighter. That’s before you change your selling price, before you renegotiate with your supplier, before you switch to a cheaper blank.
A layout with 30% wasted length costs about 30% more per usable transfer [1]. If that extra 30% is the difference between a 22% margin and a 35% margin after Etsy’s cut, then layout efficiency isn’t a design concern — it’s a pricing concern.
The practical workflow looks like this: calculate your true cost per transfer (including film, ink, powder, labor, and shipping from your supplier), divide by your utilization rate to get your actual cost per design, then set your retail price to hit your target margin after platform fees. If you skip the utilization step, you’re pricing based on a number that may be significantly lower than your real cost.
This is also where larger sheet formats become strategic rather than just convenient. The cost-per-square-centimeter advantage of larger sheets [6] only materializes if you fill them. A half-empty 100 cm sheet costs more per design than a tightly packed 60 cm sheet. Size isn’t the variable — density is.
Sticker Supply Shop states it plainly: blank space is wasted money [7]. The resellers who internalize that statement and build it into their pricing workflow are the ones who stop being surprised by thin margins at the end of every month.
If you want to stop guessing and start calculating, our DTF cost calculator walks you through the full unit-economics math — from sheet cost to platform fees to target margin. Pair it with our gang sheet layout guide and heat press settings reference to close the loop between what you pay, what you press, and what you charge.
FAQ
How do I calculate my DTF gang sheet utilization rate?
Divide the total area of all artwork on the sheet by the total film area (width × length), then multiply by 100 [4]. For example, if your designs cover 990 square inches on a 22 × 60 inch sheet (1,320 square inches total), your utilization is 75% [4]. Anything below 70% is worth rearranging before you print or approve a proof.
What’s the minimum gap I should leave between DTF transfers?
The recommended default is 0.5 inch between designs, with 1 inch for large or hand-cut pieces [1]. Never go below 0.25 inch, as overlapping transfers can fuse during cure and be ruined [1]. Some workflows use tighter gaps of 1.5–3 mm, but confirm with your specific supplier or printer specs before going that tight [3].
Is nesting software worth it for a small Etsy DTF shop?
It depends on volume and order variety. If you’re mixing design sizes — left-chest logos alongside full-back prints — algorithmic nesting can push utilization from 55% to 85%, which is equivalent to getting roughly 30 extra inches of film free on a 22 × 120 inch roll [1]. For shops printing five or more sheets per week with mixed sizes, the utilization gains typically outweigh the software cost within the first month.
Every percentage point of utilization you recover is money that flows straight to your bottom line — no new customers required, no price increases, no supplier negotiations. If you’re ready to see exactly what your transfers actually cost and set prices that protect your margin, try our free DTF pricing calculator — no email required, no printer upsell, just the math your business needs.
For more on building a profitable DTF workflow, check out our guides on choosing the right transfer supplier, avoiding common heat press mistakes, and scaling your Etsy shop beyond 100 orders per month.